
You don’t need an expensive Christmas tree to create a full, beautiful look.
Even a basic artificial tree can look much more luxurious with a little extra volume, texture, and dimension.
The key is to work in layers. Start by fluffing the branches as much as possible, then fill empty spaces with reflective ornaments and greenery before adding larger decorative stems. Here’s how to transform an inexpensive tree into one that looks fuller and more expensive.
What you’ll need
- Artificial Christmas tree
- Plastic gold ornaments
- Christmas lights
- Evergreen sprigs in a contrasting variety
- Large decorative greenery stems
- Optional smaller sprigs
- Optional magnolia flowers or other floral picks
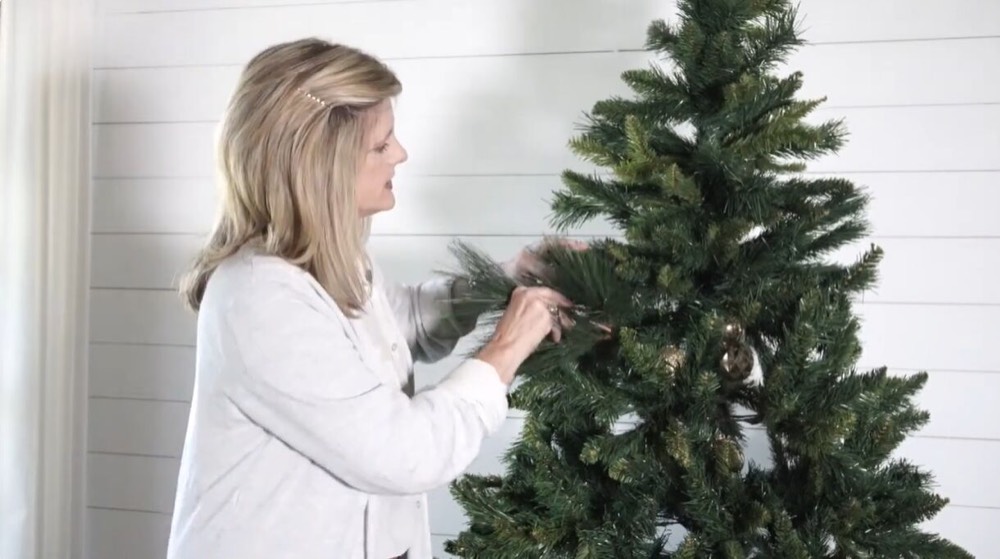
1. Fluff every branch
The first step is probably the least fun, but it makes a huge difference. Take the time to separate and fluff every individual branch on the tree.
Spread the branches as wide as possible rather than leaving them compressed against one another. Work your way around the entire tree, adjusting the branches in different directions to cover as much empty space as possible.
Don’t rush this part. The fuller the tree looks before you start decorating, the better the finished result will be.
2. Fill the interior with gold ornaments
One of my favorite tricks for making an inexpensive tree look more expensive is to use simple plastic gold ornaments.
Instead of hanging these ornaments prominently on the outer branches, place them deep inside the tree. Attach them close to the center or base of the branches.
These ornaments aren’t necessarily meant to be seen once the tree is fully decorated. Instead, they help fill dark gaps within the tree. Their shiny surfaces also reflect the Christmas lights, adding extra depth and sparkle from within.
3. Add the Christmas lights
Once the gold ornaments are tucked into the interior, add your Christmas lights.
The gold ornaments will catch and reflect the light, making the interior of the tree look brighter and helping disguise some of the empty areas between branches.
If your artificial tree is pre-lit, you can simply move on to adding extra greenery.
4. Add contrasting evergreen sprigs
Next, head to the craft store and pick up some artificial evergreen sprigs.
I like to choose greenery that looks slightly different from the branches already on the tree. Mixing different varieties of evergreen adds texture and makes the tree look more natural and substantial.
Before adding each sprig, spread its branches apart as widely as possible. Then tuck it into one of the thinner areas of the tree.
You generally don’t need to wire these smaller sprigs into place. Nestle them securely among the existing branches and continue working around the tree until the obvious gaps have been filled.
5. Choose large, full decorative stems
For even more volume, add larger decorative stems.
When choosing stems, look for ones that spread out and cover plenty of space. A full stem gives you more impact for your money and means you’ll need fewer pieces to transform the tree.
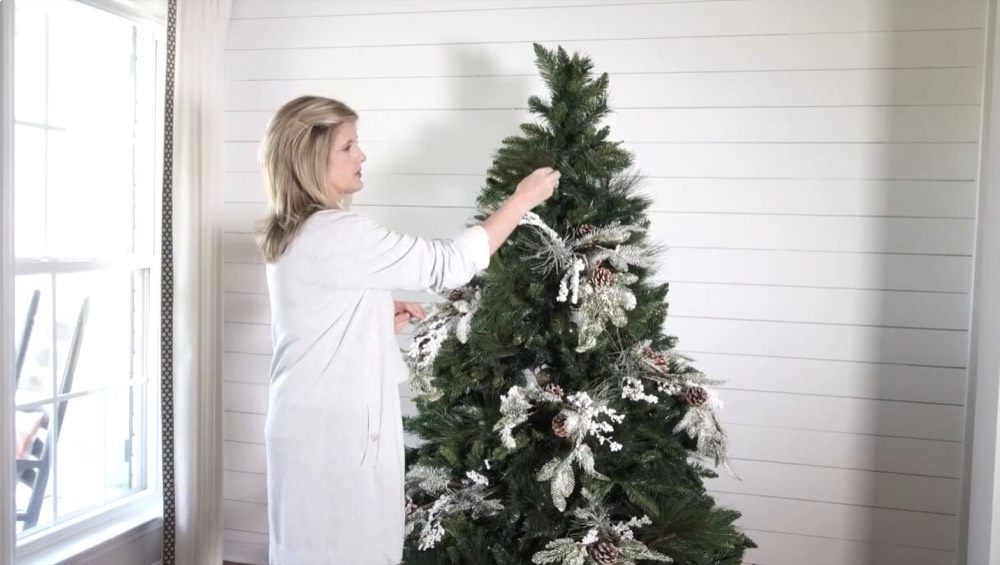
I especially like stems that combine several elements, such as evergreen branches, pine cones, and a touch of artificial snow. Once spread apart, a single stem like this can cover a surprisingly large section of the tree.
6. Let the stems extend beyond the tree
Don’t push your decorative stems so deeply into the tree that their ends sit flush with the existing branches.
Instead, leave part of each stem extending beyond the tree’s natural outline. This creates movement and gives the tree a looser, more whimsical appearance rather than a perfectly triangular silhouette.
To secure a long stem, reach into the tree and find one of the artificial tree branches. Twist the branch around the stem to hold it in place.
The greenery should look as though it’s naturally growing outward from the tree.
7. Arrange the stems in a diamond pattern
To keep your larger stems evenly distributed, use what I call a diamond pattern.
Place one stem in one area of the tree, then position the next stems diagonally above, below, or beside it so the placement creates an imaginary diamond.
Continue repeating this pattern as you work around the tree. It helps prevent the decorative greenery from becoming concentrated in one area while another section looks bare.
Take a few steps back periodically to look at the entire tree and adjust any areas that appear uneven.
8. Add smaller sprigs and flowers
Once the main greenery is in place, you can continue building the tree with smaller decorative elements.
I love adding more sprigs wherever the tree still needs a little extra fullness. You can also incorporate magnolia flowers or other floral picks. Glittered flowers or light cream blooms work especially well with snowy or white Christmas décor.
These smaller pieces help bridge the spaces between the larger stems and give the tree another layer of texture.
9. Finish decorating the tree
At this point, you have a much fuller base for the rest of your Christmas decorations.
Finish the tree with ribbon, decorative ornaments, flowers, picks, or whatever fits your holiday decorating style.
Because you’ve already filled the gaps and expanded the tree’s silhouette, you won’t have to rely on ornaments alone to make it look abundant.
Create a fuller tree without buying a new one
A sparse or inexpensive artificial Christmas tree doesn’t necessarily need to be replaced. The right decorating techniques can completely change how it looks.
Start by thoroughly fluffing the existing branches, use inexpensive ornaments to fill and brighten the interior, and layer in different varieties of greenery. Finish with large stems that extend beyond the tree’s original shape to create extra width and movement.
By building the tree in layers, you can make even a budget-friendly Christmas tree look full, dimensional, and beautifully decorated.